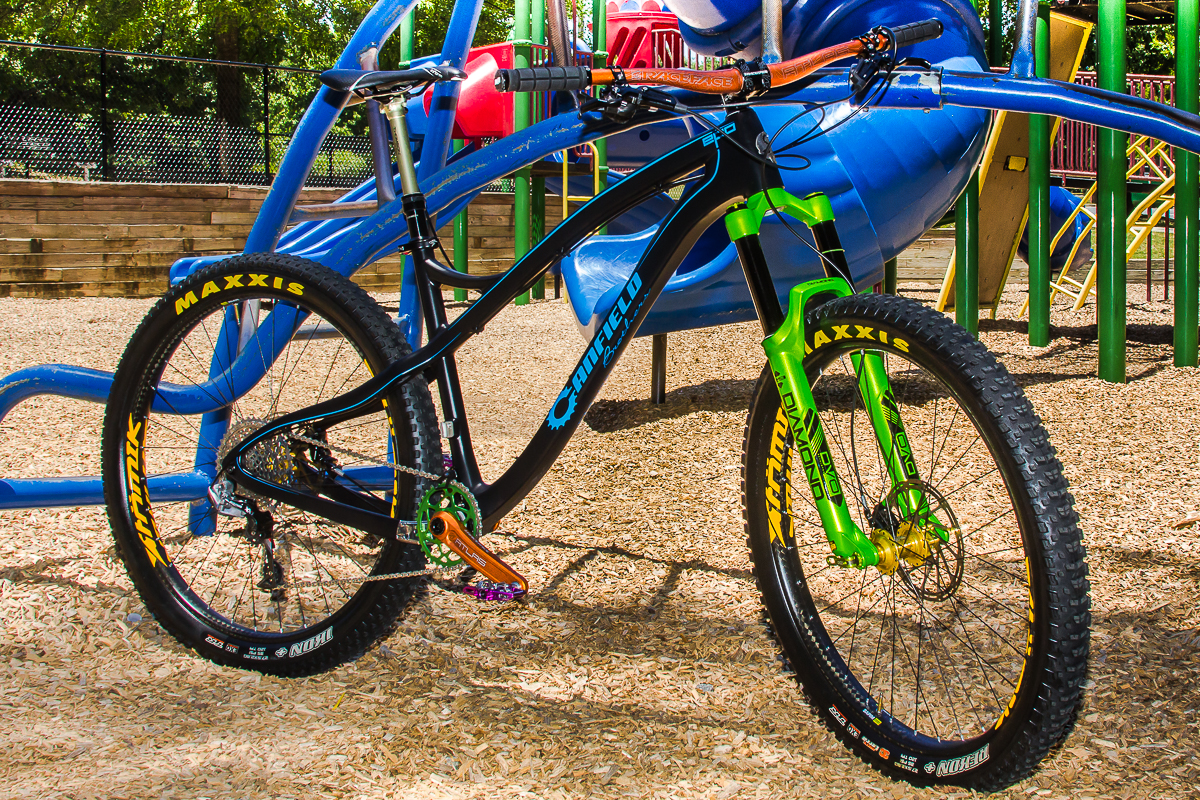
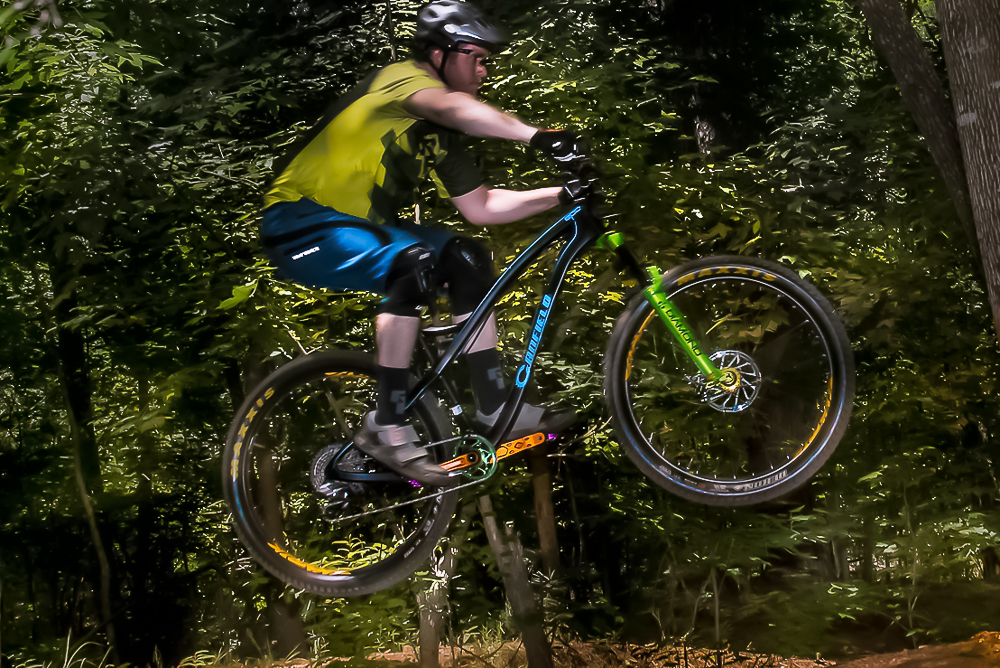
Here it is in all its colorful glory. To be honest, I wasn’t sure how this bike was going to ride or how it would look once the parts started flowing in… especially with my wheel choice(s). At first, I didn’t really care if something didn’t match as we often get things in for testing that aren’t all matchy-matchy with the rigs on hand. Once the first few pieces came in (black/blue EPO frame, black/yellow wheels, Kawasaki green DVO fork…), well, now I was on a mission!
Check out the final build & ride review, lots of pics, plus a really “cinematographic” video of the bike in action…
If you need to catch up on the details of how and why this build came about, make sure to check out Part 1 and Part 2 of this extraordinary build.
Many things can affect how a bike rides and handles from frame geometry, tire size & width, suspension travel, and so on. The EPO was just to be another review bike with no special attention, yet it turned into a fun experience all around. To say building the Canfield Brother’s EPO was fun is a vast understatement. I could not recommend more for someone to go out and build up a bike that suits your needs as opposed to buying one “as is”. Sure, it will cost you quite a bit more to do it this way, but when it’s something you will use often, sometimes the satisfaction from that experience is worth the investment, (especially 20+ years later when you still have that bike(s) and occasionally take it out for a nostalgic ride). Once done, this bike was dialed for what I liked to do. Of course a little experience helps, some experiments fail… like my first road bike I pieced together with odd parts including a 42t BMX chainring run 1X7. Talk about getting dropped like a rock!
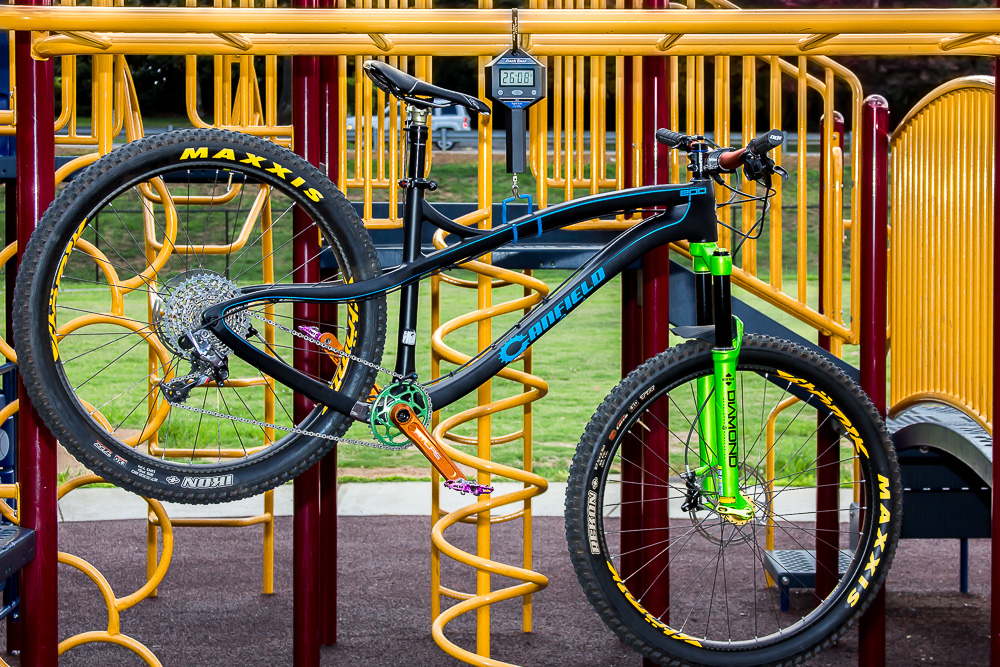
While the frame was light at 3lbs 2 oz, in no way was I shooting for “light-weight” when I started the build. The DVO Diamond is almost half a pound more than some of its competitors (but still my favorite), and carbon variations of the cranks & bars would have knocked off some considerable weight. Still, at 26.5 pounds, this came out lighter than I had anticipated. *(it’s worth noting I have never weighed my personal bikes, but for the audience’s sake, I now have a scale thanks to Park Tool). Weight weenies rejoice!
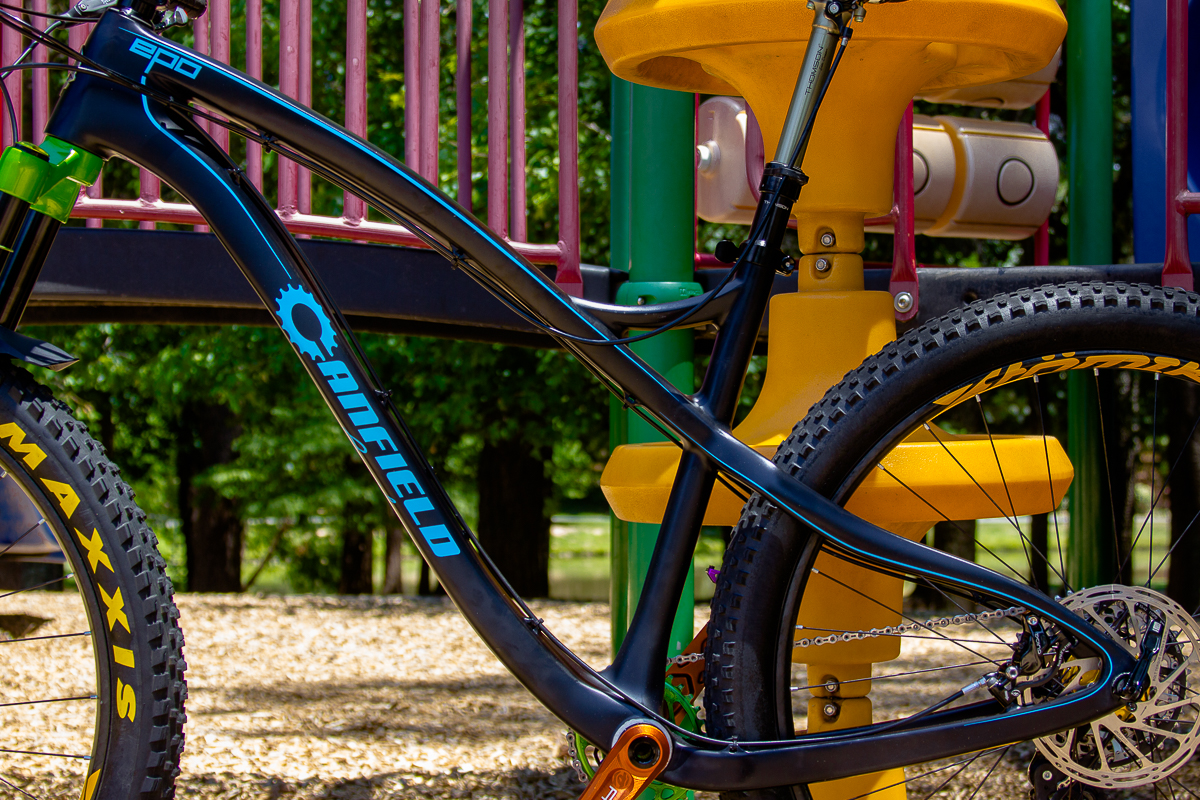
The swoopy stays are so short they’re almost disproportionate to the rest of the bike. I really favor the super low swung toptube allowing plenty of space for your knees when leaning into turns or hanging it out on those whips & tables. The EPO is just a well engineered and designed frame. I mentioned in Part 2 that I preferred the external cable routing and that it flowed well with the frame’s curves, and the proof is in the puddin’. The extremely short stays also aided in easily being able to lift the front wheel to manual over obstacles.
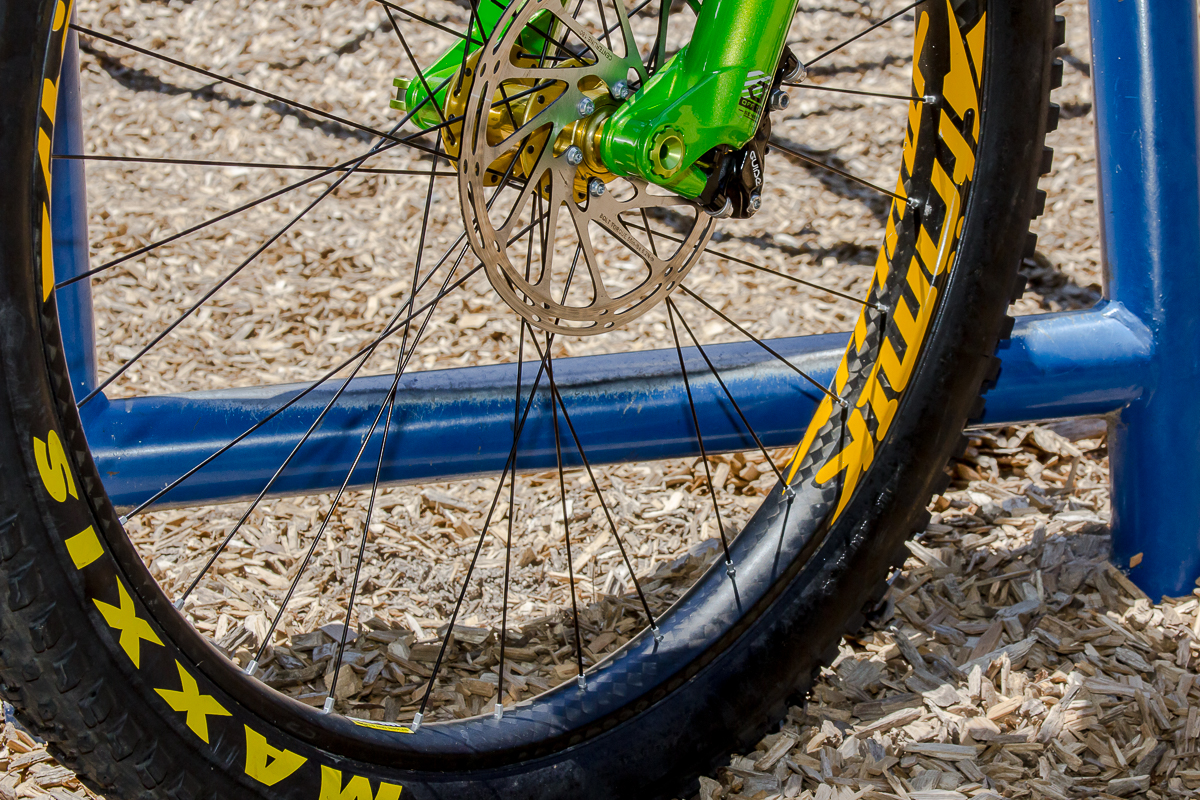
I left the details on the wheels and tires out of the first post on this build because I really thought they made the bike… in TWO different ways. The Canfield Brothers EPO is designed around the 29er wheel size. Luckily I had just gotten in some wheels to test that would have gone perfect on this bike (more on those below), but when Atomik Carbon reached out to me to test (and potentially later review), a new 27.5+ wheelset they were developing, I thought this might be a perfect opportunity to see what all of this “plus” stuff was about. The prototype Atomik Carbon Chubbies were pretty sweet looking and took a different approach to rim design with their foam core technology. The goal was to keep the rim depth as shallow as possible (15mm) to protect them from impacts due to rocks (FYI: mid-fat tires throw a lot more… and bigger rocks than standard width tires) while maintaining the strength of a more standard proportioned rim. They are basically a shallow double wall design with a foam core that increases the strength with little addition in weight.
I have ridden plus tires elsewhere, but getting to spend extended periods of time on familiar trails really gives you a better perspective of what they’re capable of. The amount of traction at the right pressure was eye opening. It was actually quite fun to play with the tire pressure a bit depending on what you were looking to do that day.
Initially, I tossed some 27.5 X 3.0 tires on the Atomik Chubbies. They fit… sorta. Two things I wasn’t thrilled about: One was for me to run them at that perfect root-eating pressure (15psi front / 17psi rear), the rear tire would squirm quite a bit under hard g-outs. Secondly, wear marks developing on the tire’s sidewalls from rubbing the stays in hard turns just screamed they don’t fit. While a little disappointed, I found that running the pressure high enough helped, but this wasn’t a “spec” I felt was passable. While all of this was going on, Maxxis asked if we could test out some new 2.8 inch 27.7+ tires that they developed for those wanting to go “plus” on frames with less than the required clearance for 3.0’s. *mind blown*
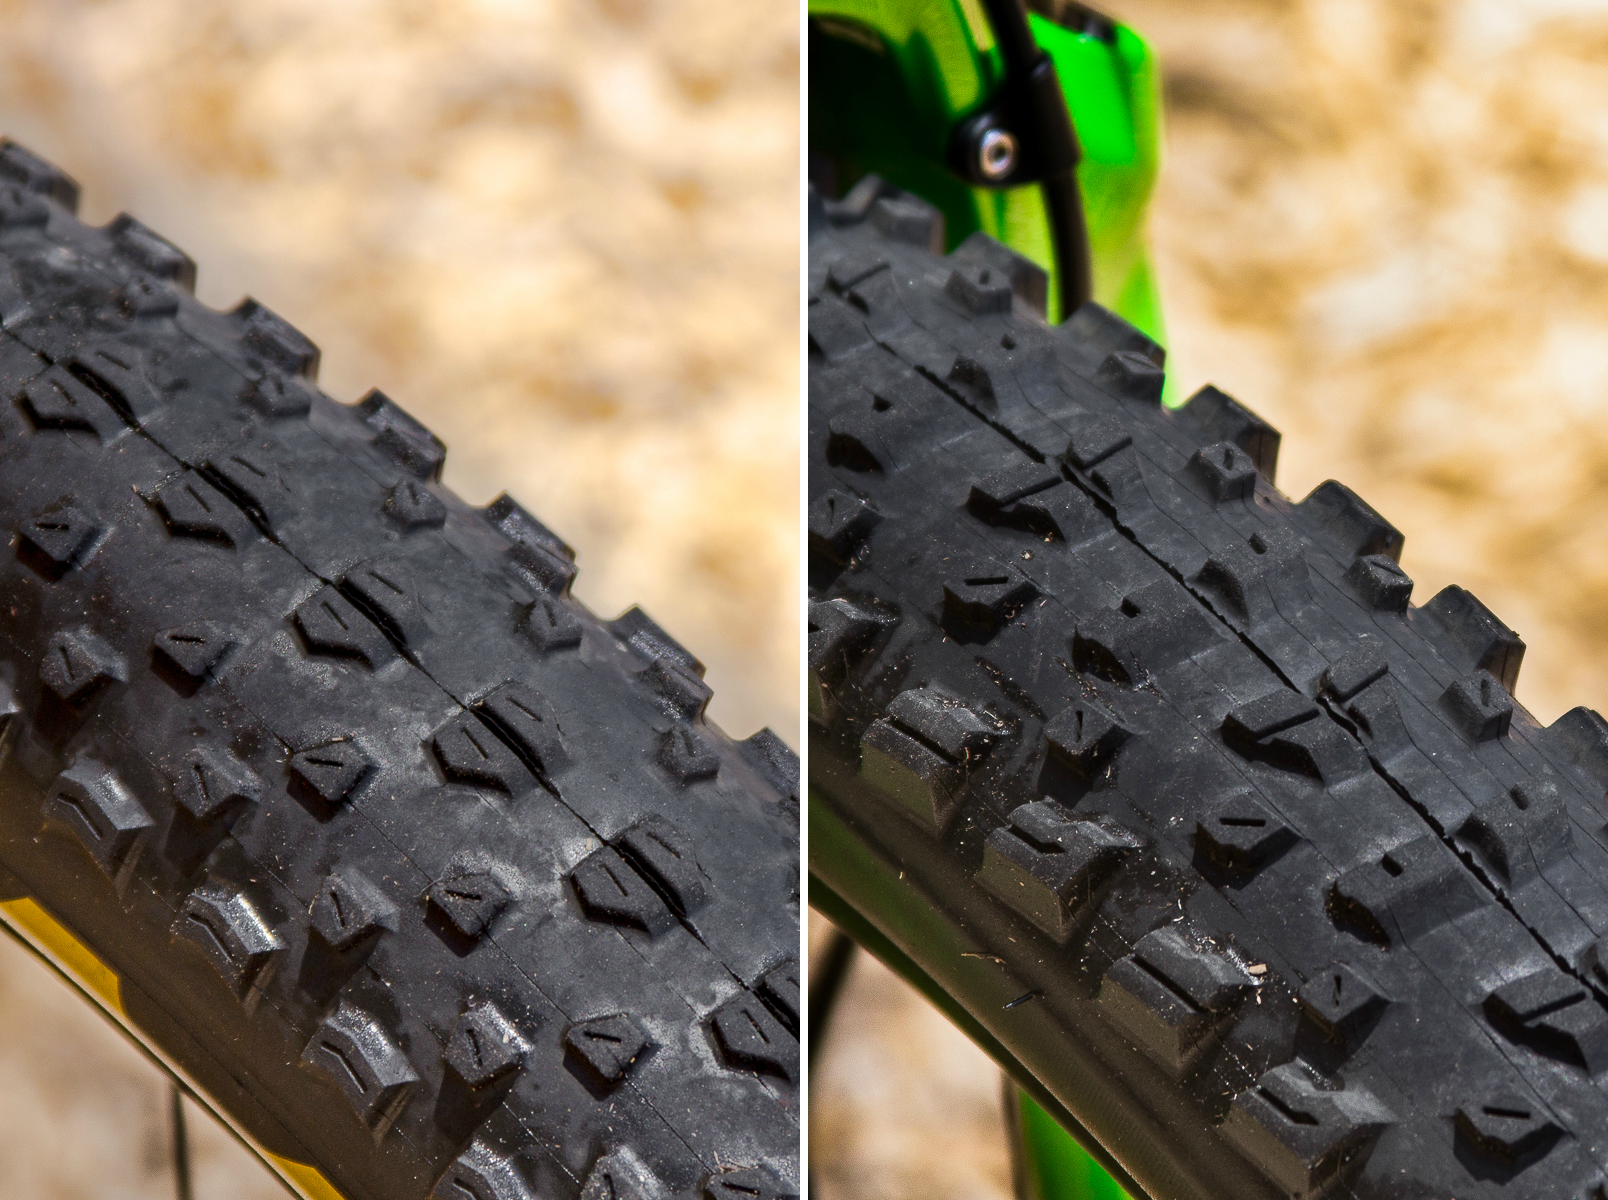
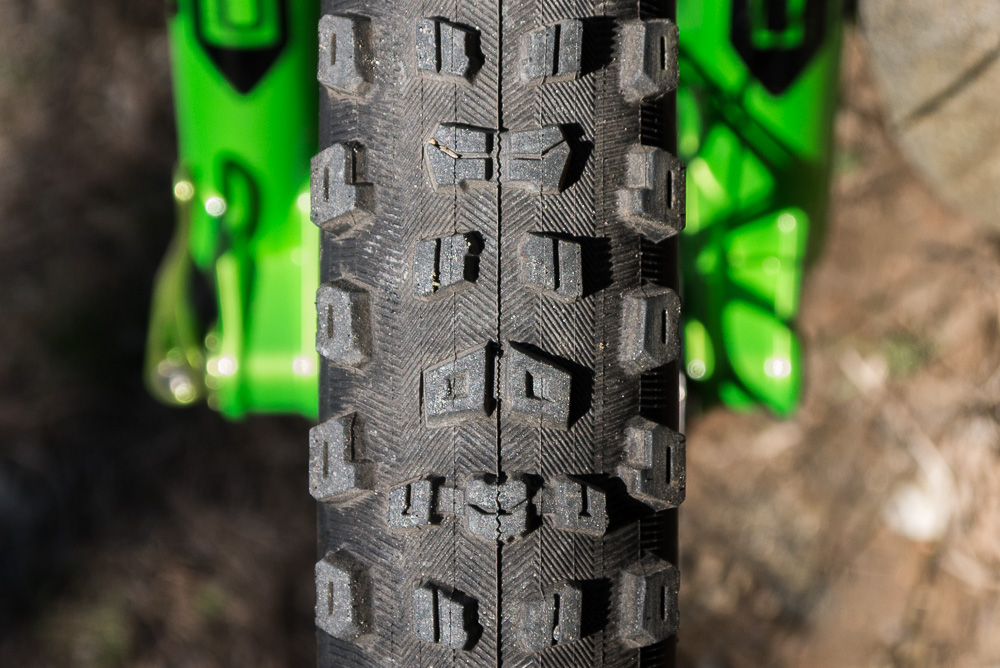
The Maxxis Ikon+ (left) headed out back while the 2.8 Rekon+ (right) managed things out front. The slightly narrower carcass not only gave me just the clearance I needed, but it just sat on te 43mm Chubbies better. The best part about the plus tires that really made them fun was how much I could adjust the pressure depending on what I was doing. Airing them down to 15-17psi (f) / 17-18psi (r) made trail riding a pleasant experience. Being a hardtail… and my age may be a factor, the plus tires made for a great compromise over a full suspension bike over the rooty and rockier trails. When it came time to rail one of the many flow trails or jump runs here, I would cram around 20/23psi in the 2.8s making for a really fun experience. What I loved about the 2.8 Ikon+ / Rekon+ combo was that even on super hard packed runs, I could hit the turns so hard the tires, front & rear, drifted a bit while remaining in complete control… most times. (hince the “woah!” at :24 in the video below).
The Ikon+, like their standard Ikon rolls fast with slightly higher side knobs making for a great rear tire. It can even be used up front if you have a lot for hardpack. As mentioned above, because of the larger contact patch, you can get away with a less aggressive tread on the “plus” tires. The Rekon+ did fine in the hardpack, but it is slightly built up more with heftier side knobs to better handle “loose over hard” and luscious loam. I felt this combo was a great everyday setup if you have a pretty variable number of terrains you ride. Because of the larger contact patch, the tread on plus tires can work over a wider range of terrain. For instance, a standard Ikon would not be an aggressive enough tire for the riding I typically do as it’s more designed to be a XC race tire, but I absolutely loved it’s 2.8 inch big brother.
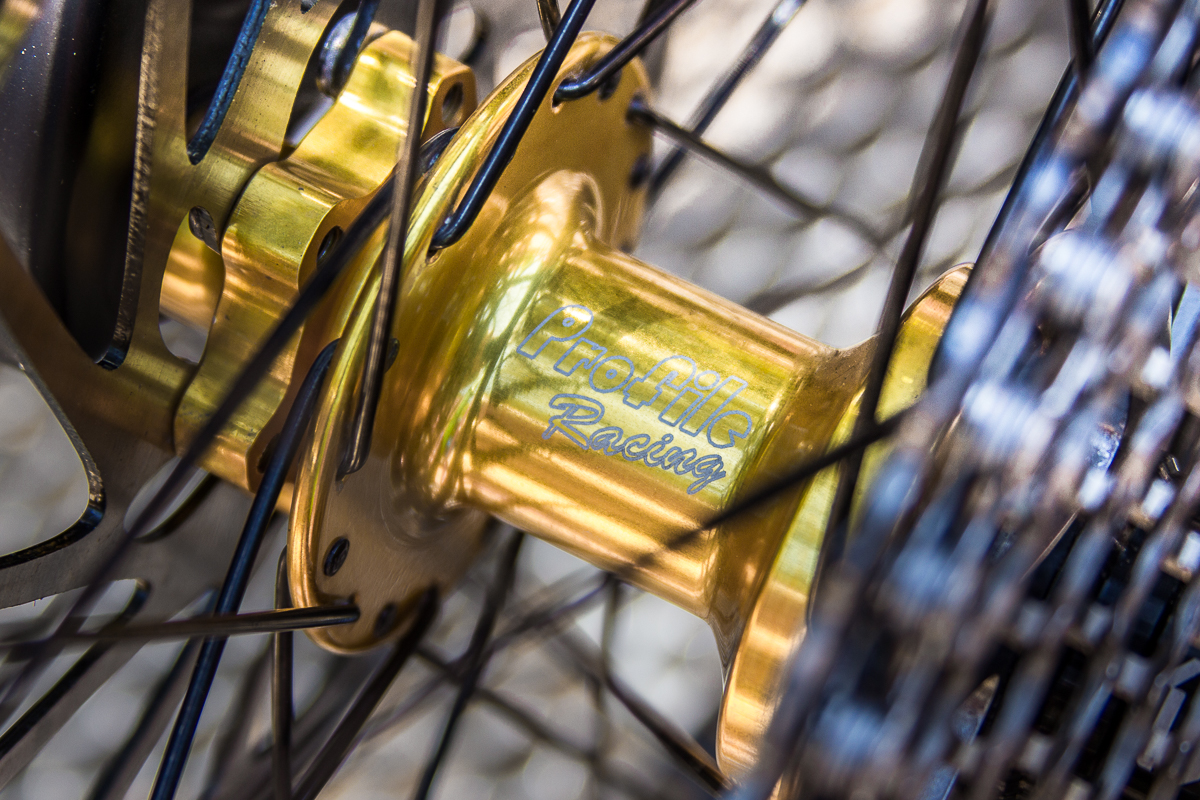
The Chubby wheels came attached to Profile Racing’s crazy fast engaging hubs. I own both Chris Kings and have a couple of sets of Industry Nine’s Torch’ed wheels, and while these are actually slightly faster engaging, they are A LOT louder. I was a little tickled when I first heard the high tech, lightening engagement hubs roar, but I eventually got to the point where I was afraid of making people jump as I coasted by. The sound is a little on the extreme side… especially when scaring the crap out of children when riding with my daughters to school. The sound of those things breaking the 7:30am silence on a Monday morning as we coast down the hill to the elementary school’s bike rack resembles a pile of 20 foot rattlesnakes on the attack! I literally attempted NOT to coast! On the flip side, I rarely had to throw out an “on you left” to those even with headphones stuffed in their ears.
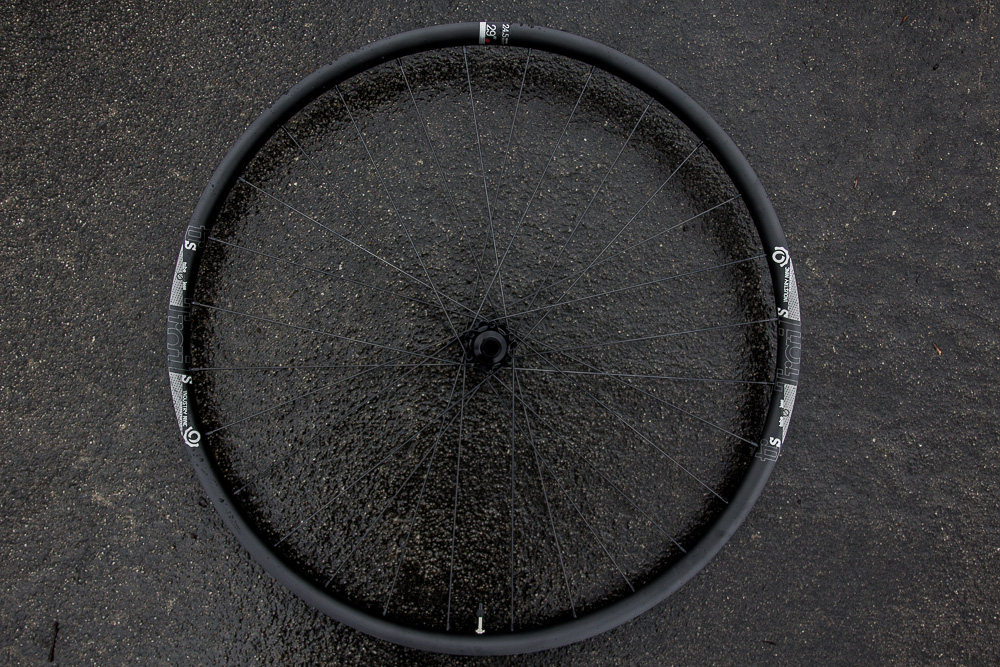
So while rolling on 27.5+ is fun, if you’re going to do an all-day ride that exceeds your comfort level distance wise, the 29er wheel size is the way to go. I had gotten a set of Industry Nine’s Trail S wheels to play on that I had initially put on this bike. They were spectacular in being a tough but lightweight wheelset that made for an efficient all-day ride while taking a pretty good amount of abuse. It was a hard call on which wheels to use as the EPO handled great with the wagon wheels. However, this was about pure fun and the “plus” variants just did it for me as the go to wheels on my local everyday trails.
Tire choice for the 29er version of this bike went to Maxxis’ new Aggressors. The Enduo specific tires bit everything you put in their mouth. When testing the Aggressors on the EPO, I really felt I had a dialed bike. When you ride a tire and realize you need to trust it more, something was done right.
It needs to be said, that one benefit/drawback to running the 27.5+ tires on the EPO was that it lowered the already pretty low bottom bracket height another 1/2+ inch. I am pretty decent at timing my pedal strokes and love getting my center of gravity down as much as possible, but there were a couple of stepped climbs where pedal impacts were unavoidable. It was a small price to pay, but there is a reason bottom bracket heights is crucial when designing a frame. That said, because a hardtail doesn’t “sag” like a full-suspension, you can get that BB pretty low without as much worry and Canfield Brothers hit the nail on the head with that one.
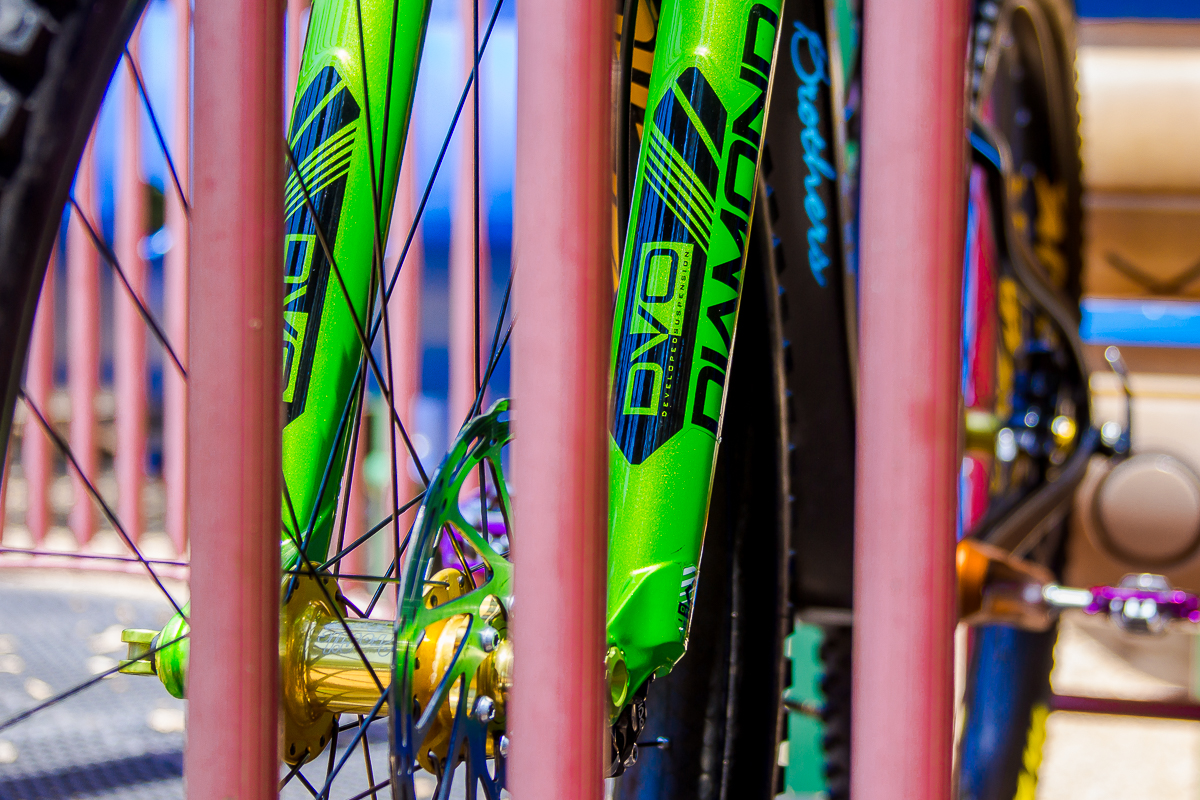
I was really impressed with DVO’s Diamond fork. It took some tinkering to get it where I wanted, (I kept thinking “I had it”, till I made another tweak that made it better). The 29 specific, 140mm travel fork took the Maxxis 2.8s like a champ and I felt it had the perfect amount of travel for Canfield Brothers’ EPO.
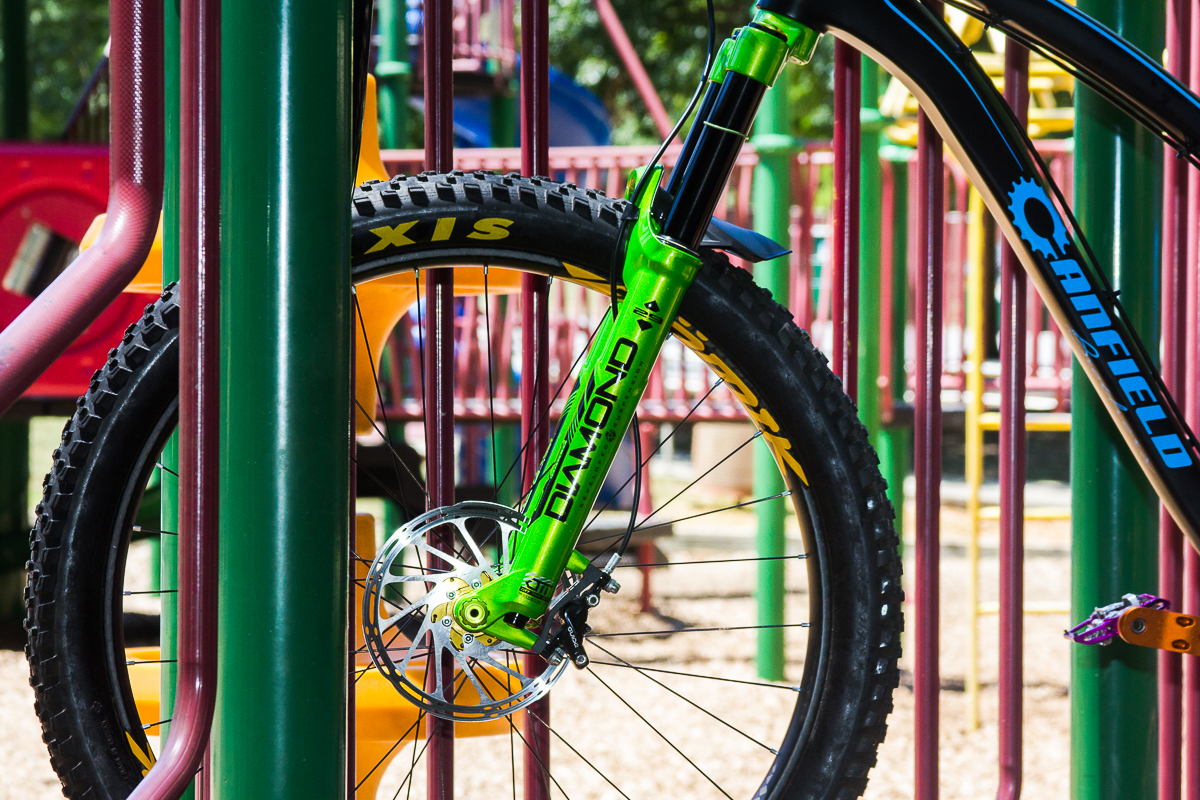
The 140mm DVO Diamond laid the front out into a playful 66.8° which was money on the EPO. It was predictable and descended railed like nothing else. When it did come time to play on the jumps, ramping up the easy to reach low-speed compression kept the front in from packing as much which made for a more stable ride from berm to berm.
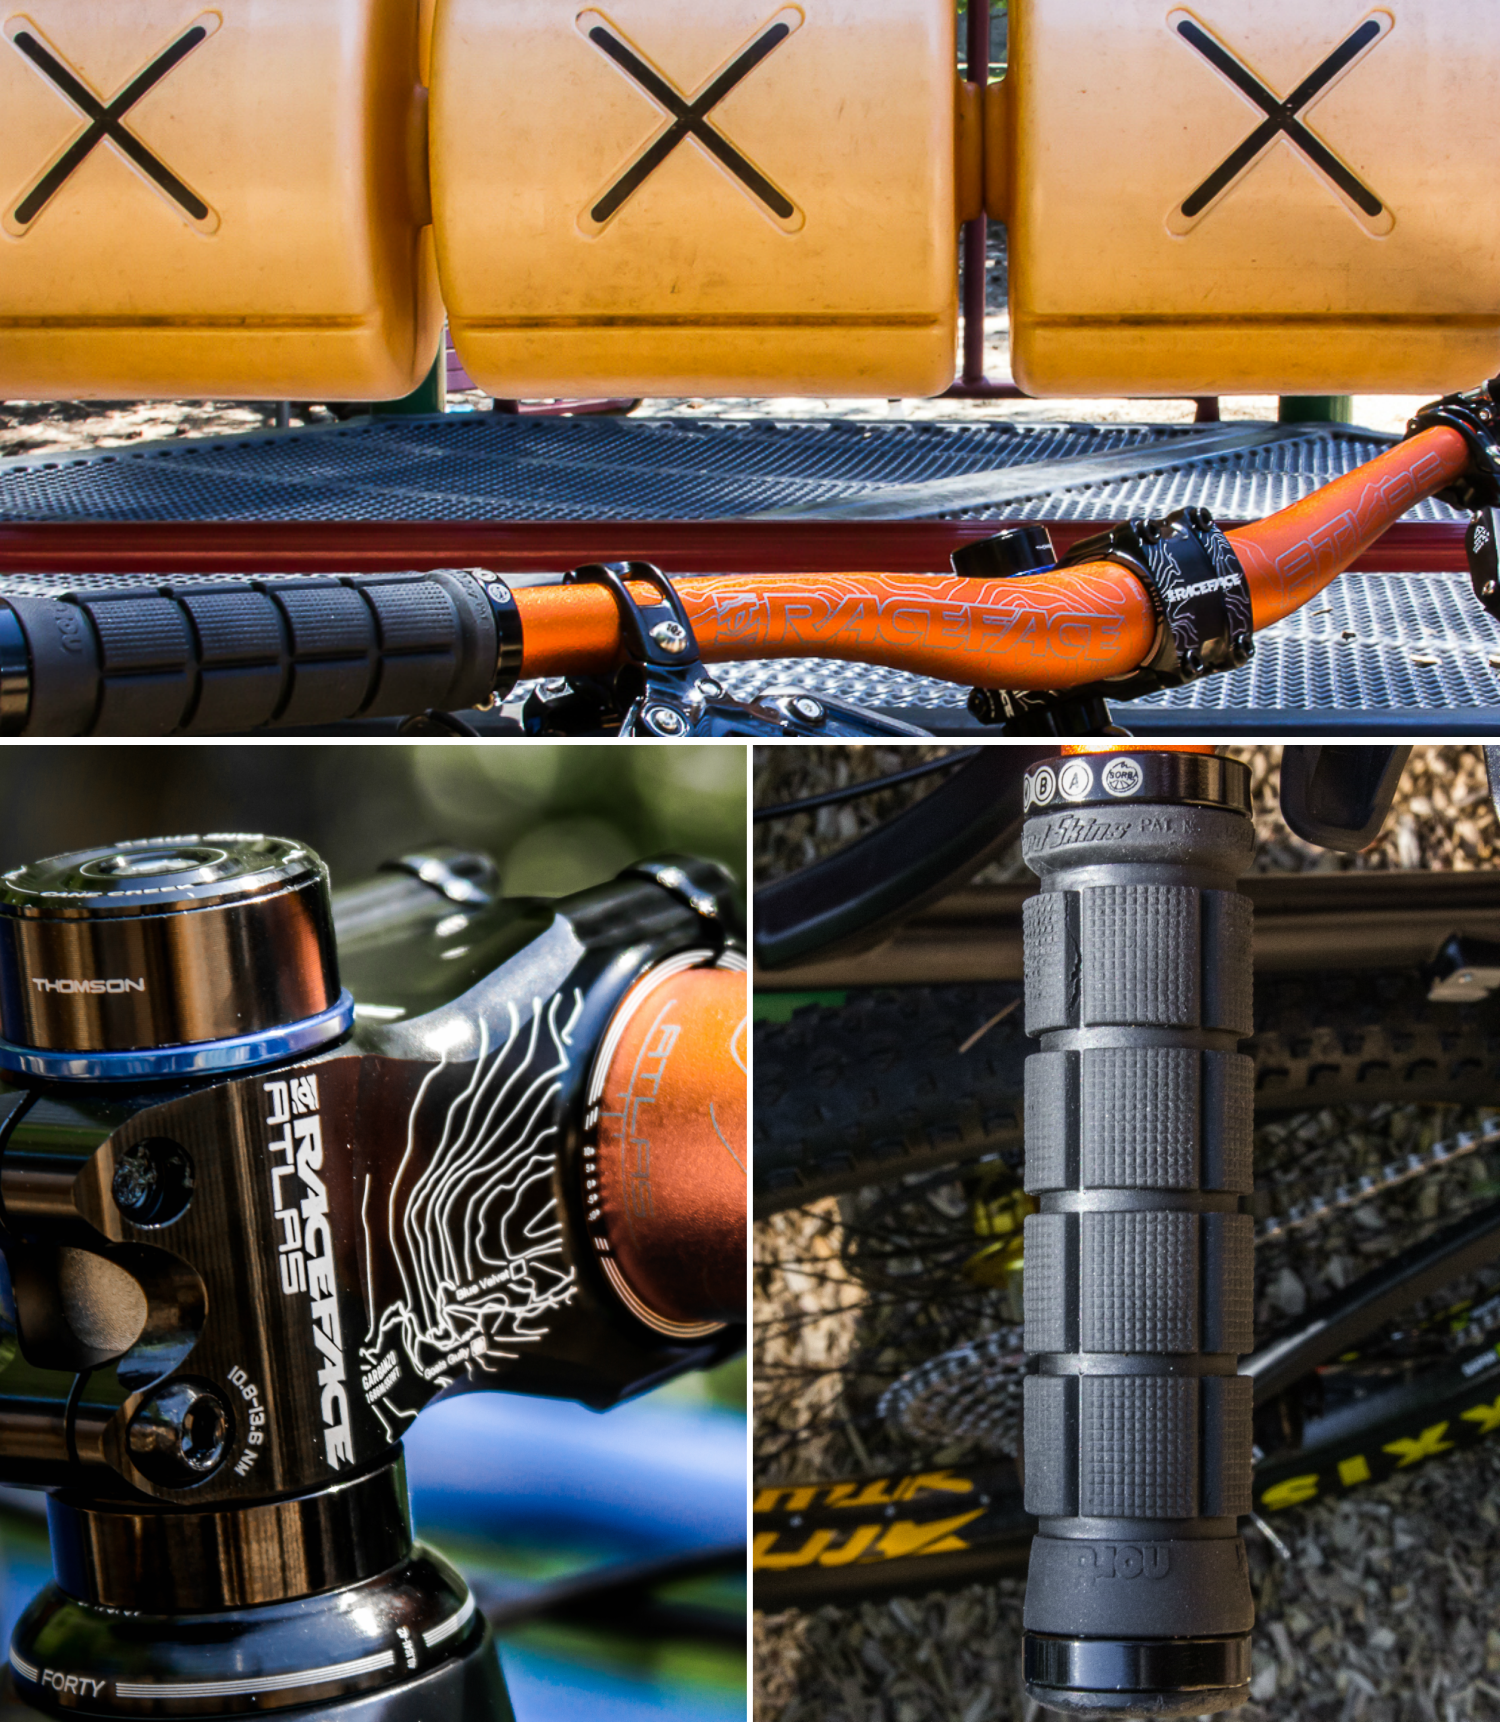
Keeping things in control I went with Raceface‘s Atlas stem and bars. Knowing they would do the job was key and for whatever reason, Raceface’s bend and sweep have always done it for me. The 800mm wide bars were a bit much so I chopped them down to a more usable 780mm. The Lizardskins Northshore lock-on grips hold fast with my preferably loose grip and while not soft, they do provide a bit of cushion without losing any feedback. And for those with a keen eye… yes, those are Thomson headset spacers… and no, you can’t buy them. Turns out those unobtainium pieces never made it to production so they handed a few to me that were laying around when visiting them some time back.
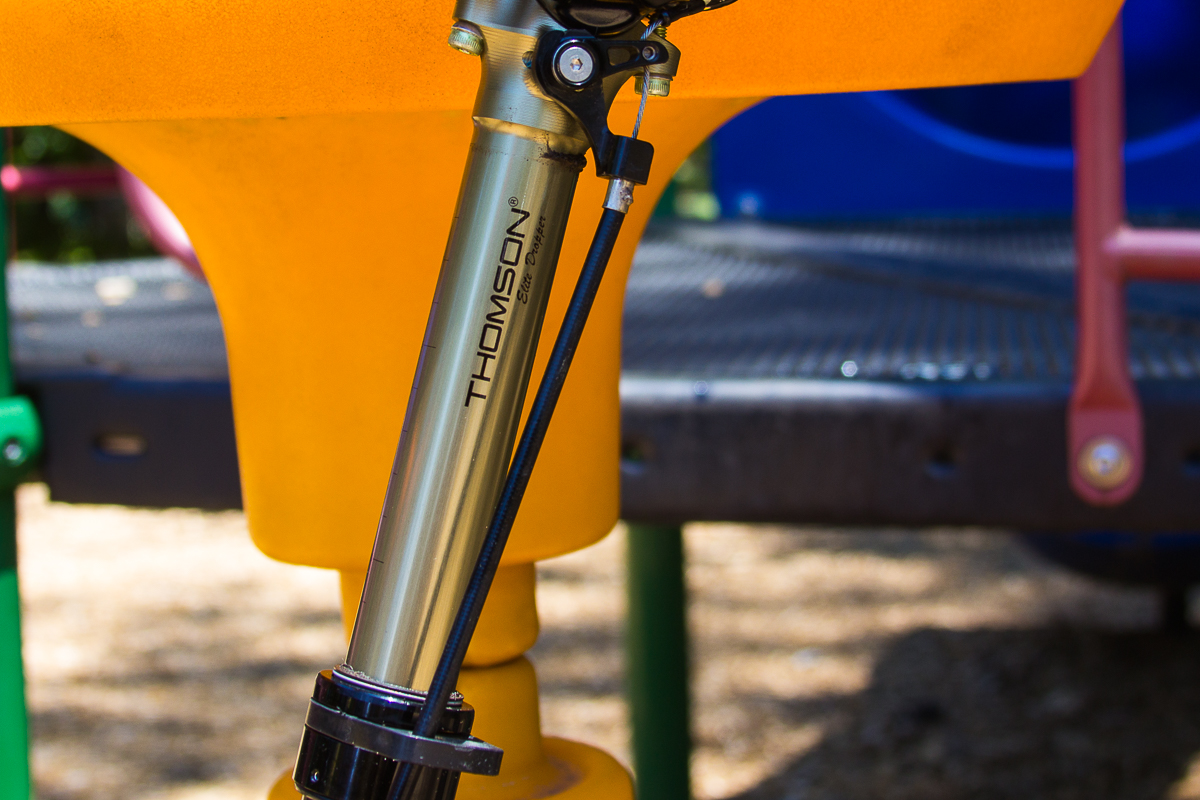
This bike would not be what it is without a dropper. I went with Thompson‘s Elite dropper post based on how dependable it was as well as it having the perfect return speed with even a little additional slow down during the last 15mm of extension. While I am using the 100mm here, I do wish I had the 125mm variant during jump runs. Luckily the EPO was sent to me with a seatpost QR, so a quick adjustment put things where they needed to be.
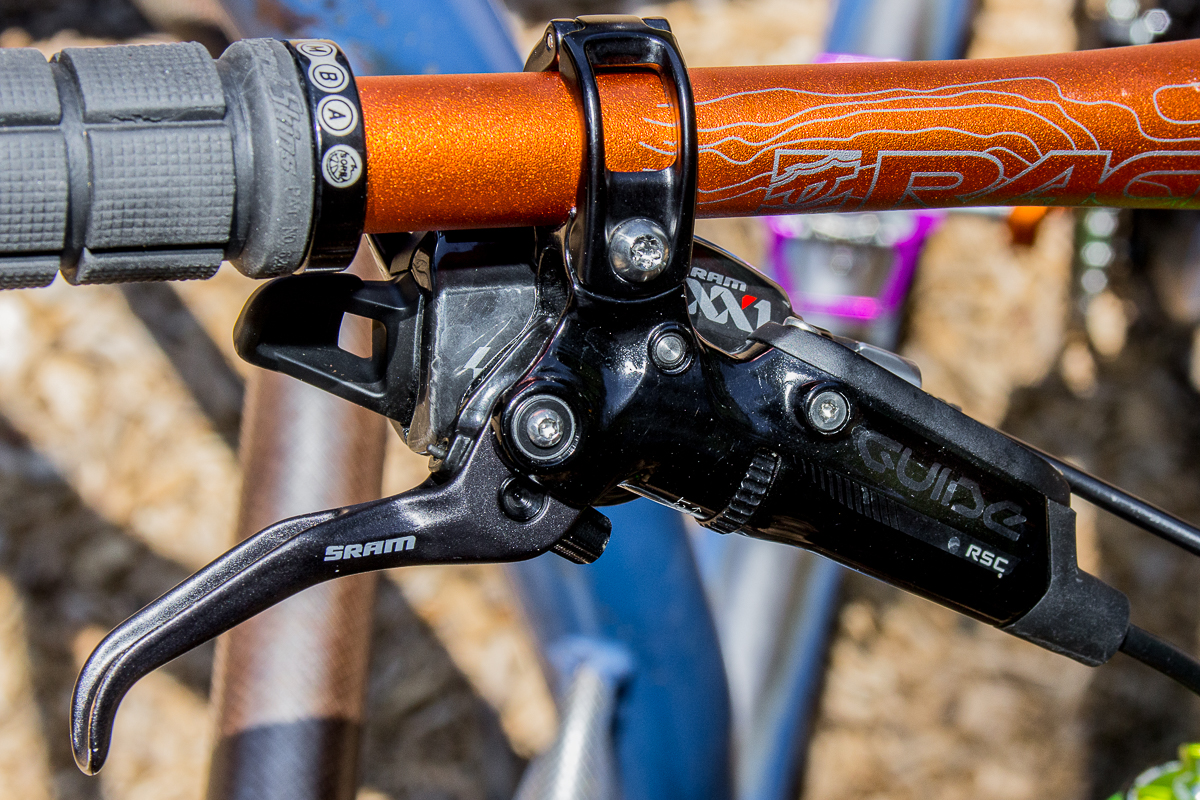
I went into why I used SRAM’s Guide RSC brakes in Part 1 but they just work really well, have great feedback, and can be fine tuned to fit most hand sizes and how they engage.
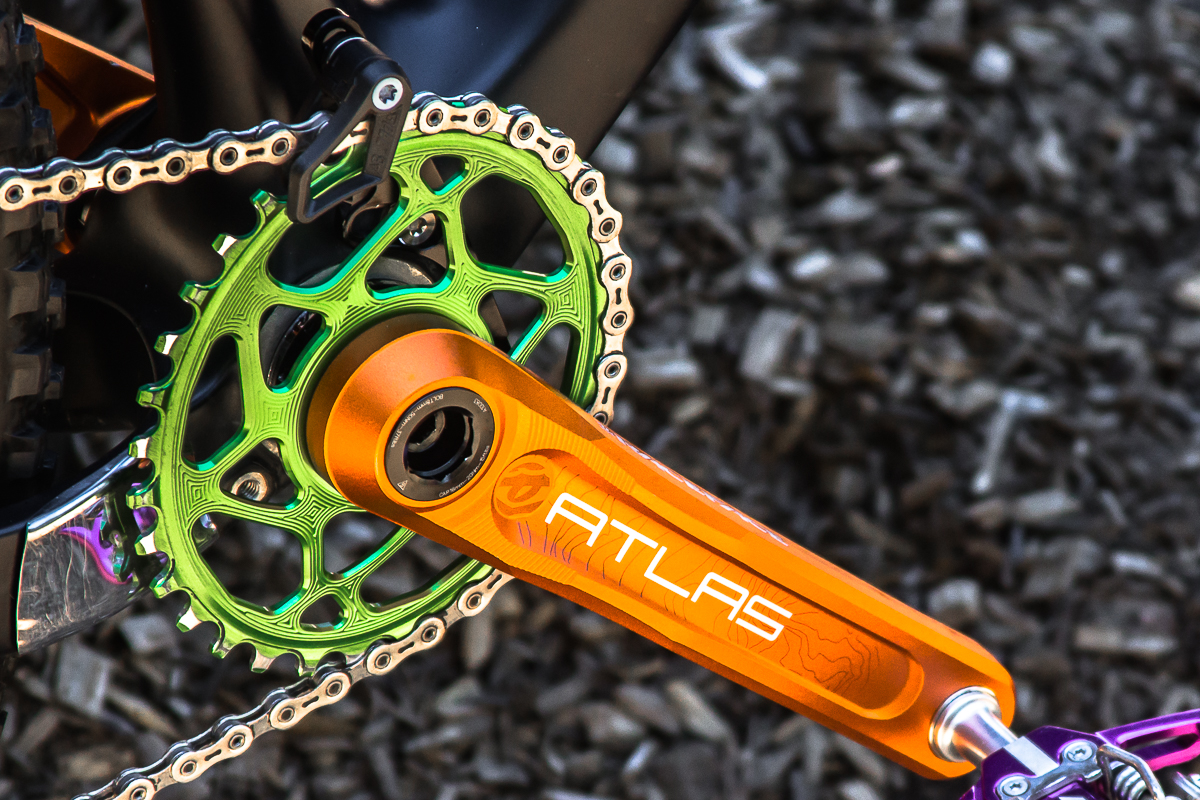
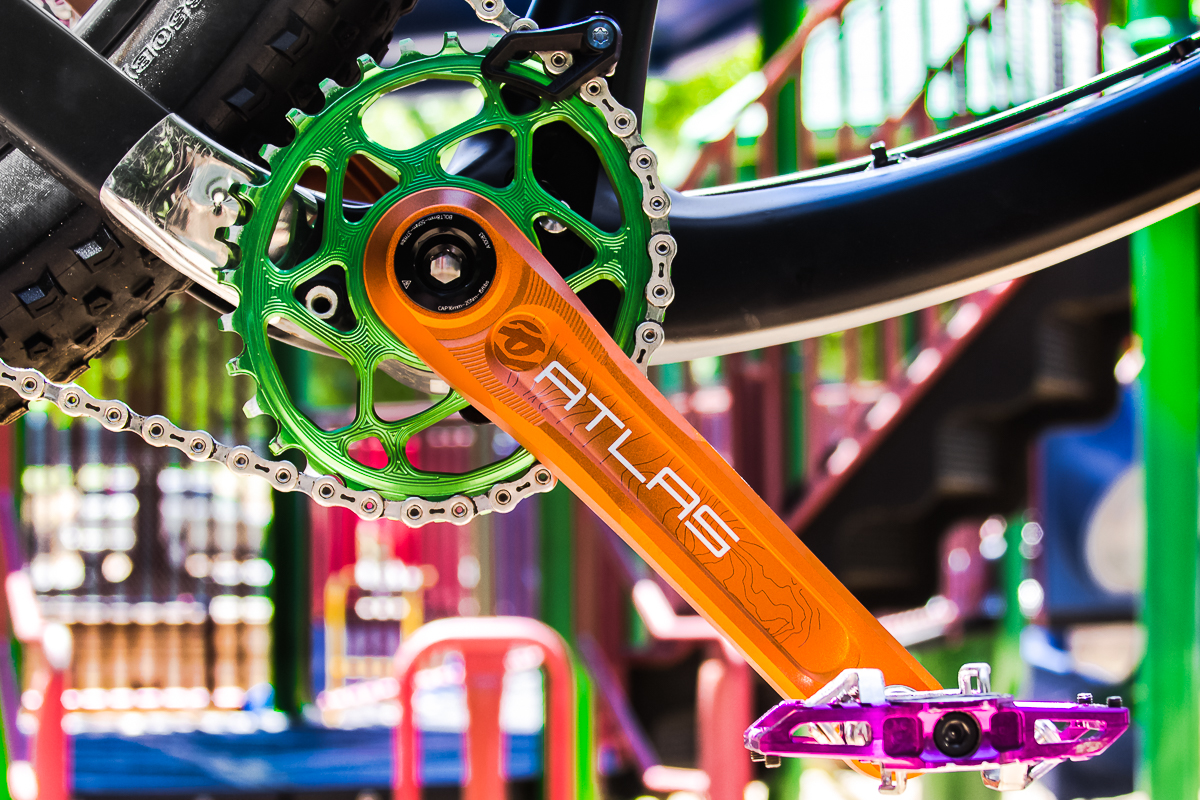
To make this bike move, I decided to step outside my familiar comfort zone and went with a chainring that was not round and a pedal that wasn’t Shimano. Absolute Black’s oval ring designed to fit Raceface’s Cinch system and their guide from 77 Designz has me sold. Even with my initial doubts that were formed within the first 50 yards of riding, the oval made for a better experience… more FUN if you will. They took the bite out of those punchy climbs. I in fact rode a bike with those old round rings yesterday and on every little climb, I was reminded how much better the ovals worked. You can read more here in my review, but I’m having a hard time coming up with a reason to not ride oval rings.
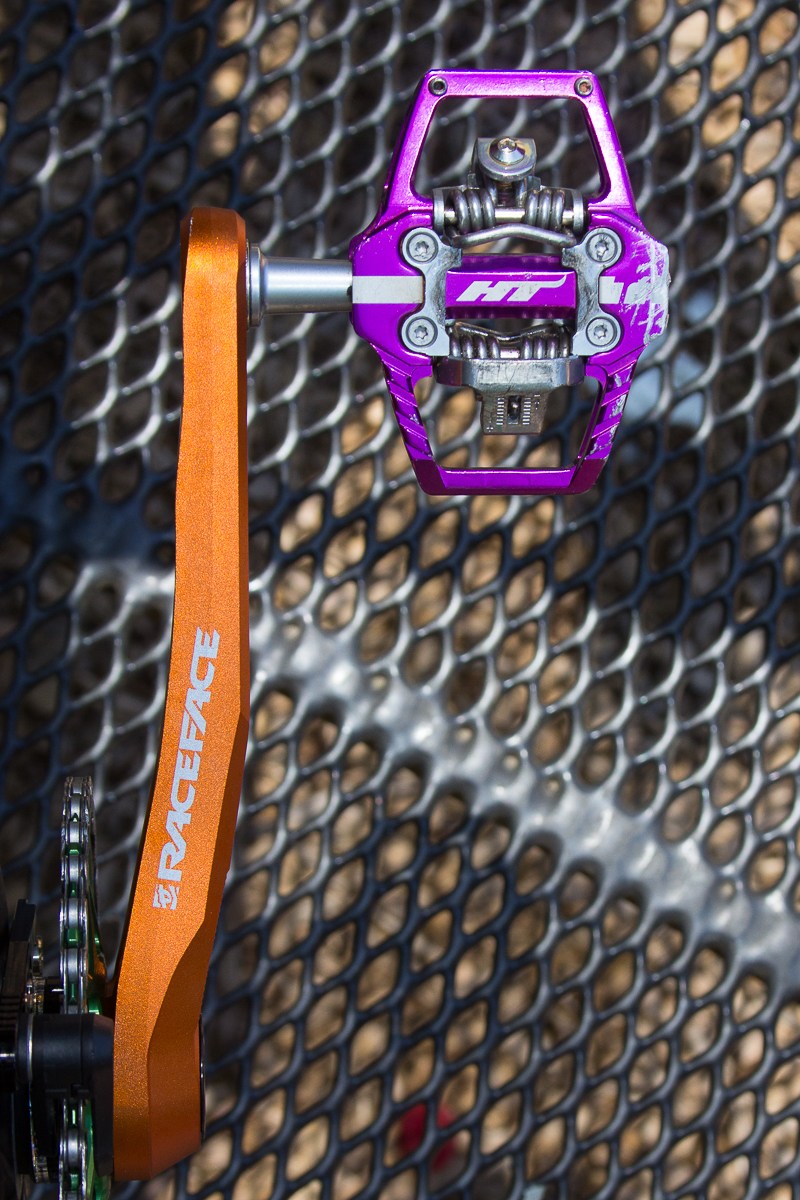
Raceface makes a hella set of cranks amongst many of their components. The Atlas cranks with their Cinch system and 30mm spindle make perfect sense with how stiff, light and flexible they are in fitting in just about any frame on the market. As mentioned in Part 1, the HT T1 pedals were a big surprise on my “had to have” list. They were the first pedal I’ve tried that took me away from my tried and true Shimanos. I go into the specifics in my review, but when it came to pushing the bike to its my limits, they kept my feet where they should be under even the most extreme cases.
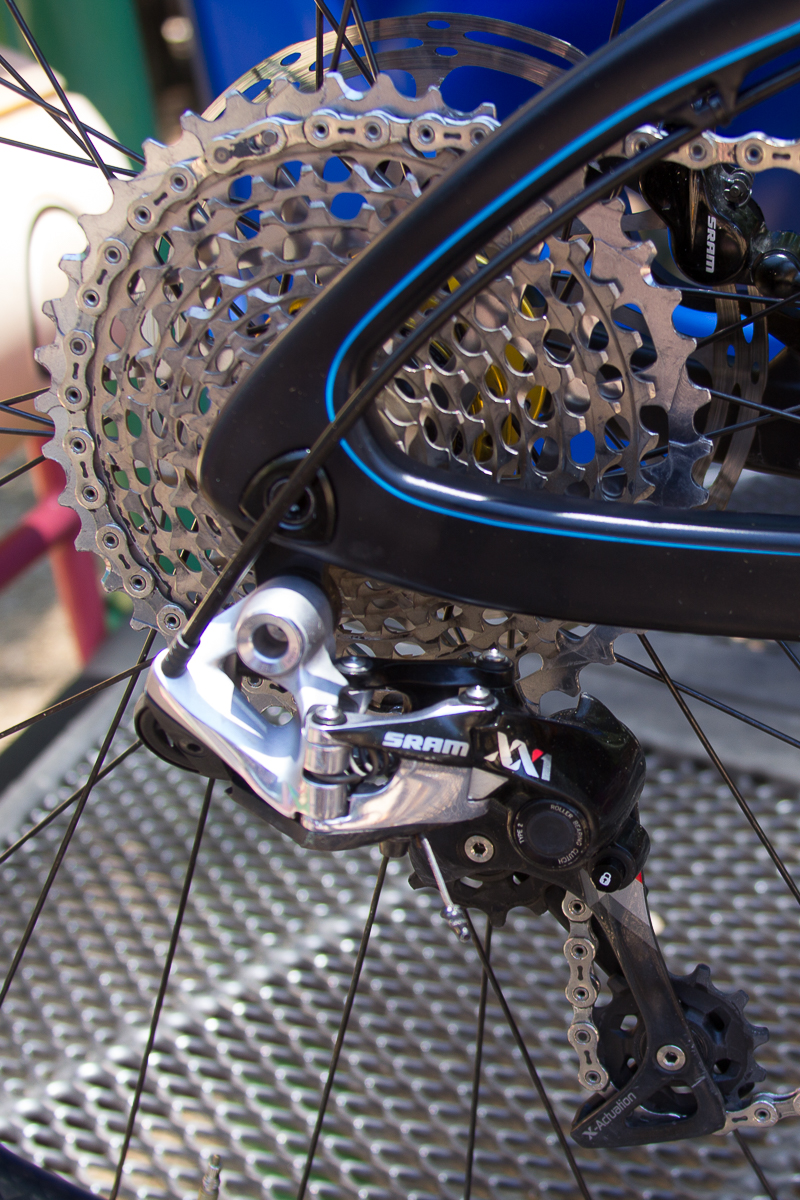
While SRAM’s XX1 is nothing new, it is worth noting, it worked flawlessly. I literally cut zip ties on one bike to transfer it over to this one without having to make any adjustments, (I then did the reverse when re-installing it).
The only thing I would change, if I possible, would be to knock off about 15 to 20 years off of my almost 45-year-old injury laden body when riding this bike. I haven’t completely said “no” to learning the A-Line with full-commitment gap jumps and lips pointing to the sky, but for now, I couldn’t be more stoked to have the trails I have to ride. Because of things like “purpose built bikes” for “more purpose built trails”, experience, and most importantly improved wearable protection, I am still more than able to get out there with the best of them and take a few risks along the way.
While I would like to be able to still carve like the folks in everyone’s favorite videos, it really comes down to an individual’s grin factor. Most of the bikes I’ve owned have been… as they say “more bike than I need”. Regardless, it’s fun scrounging the internet for the newest trends and tinkering around with different setups to see what works for you. Sure, many may still feel that “steel is real”, “single speeding isn’t dead” and that the bare minimum is all you need, but let’s face it… nothing matters more than what makes you happy and we are lucky enough to ride in a time where there are so many options to choose from.
I did a little video below carving the local Quehl Holler jump run at Blankets Creek just North of Atlanta. The sound of those tires (if you can hear them over the hubs), are the ear candy of traction. After checking out my take on video editing of my World’s Funnest Bike, since I showed you mine… now SHOW ME YOURS by going to our Facebook page and sharing your “World’s Funnest Bike” with us in the comments under this story’s post!
Video: Sean Park / Edited by: Steeze McQueen / Trail: Quhel Holler at Blankets Creek
Big thanks to everyone that helped out with this build, but most especially all of the folks over at Canfield Brothers who were overly patient during my “gathering of the perfect parts” to get this bike going. This was one of those times I had a hard time sending the bike back (I think they may have thought they may never see it again), as it really was that fun.