No matter the type of bike you ride, road, mountain, gravel or cyclocross, invariably, the frame is going to be pinged and dinged by rocks or debris thrown up by the front wheel. Or, the driveside chainstay, abused by a slapping chain and slammed by grime and chain lube. There are several products on the market to help alleviate these issues, but Effetto Mariposa go a little further, offering a robust adhesive that promises to keep your bike looking good. Click on through for our review…

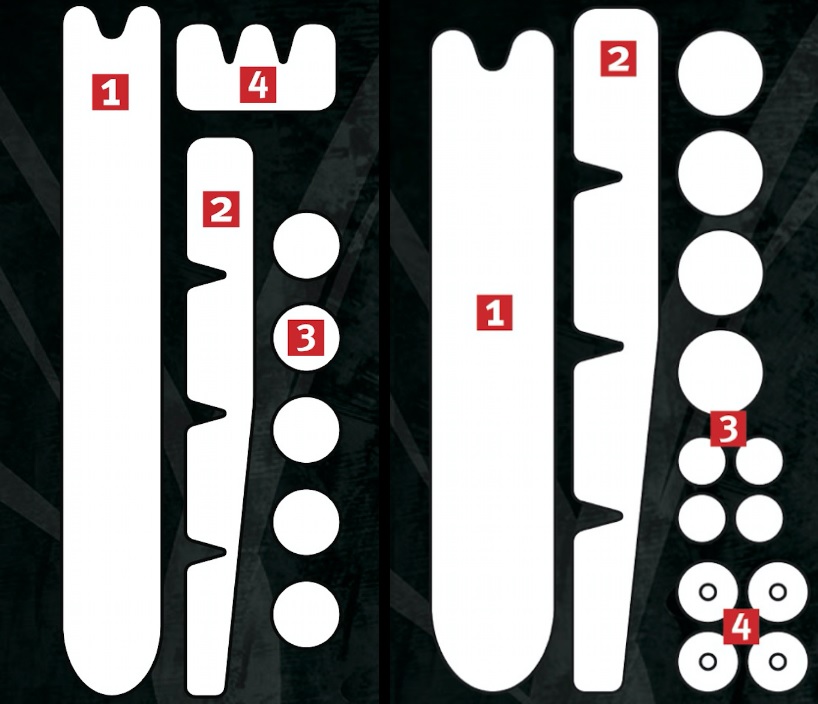
Effetto Mariposa’s Shelter kit is available in three different varieties; pre-cut for MTB and Road, or two simple strips that you can cut yourself, measuring 54mm x 500mm. Regardless of the kit, all Shelter strips measure 1.2mm in thickness.
I took receipt of the MTB kit, despite the fact I’d be installing it onto a gravel bike, the Parlee Chebacco. To appropriately test the Shelter kit, I thought it a good idea to see if it would hold up for 200 miles of 2016 Dirty Kanza abuse.
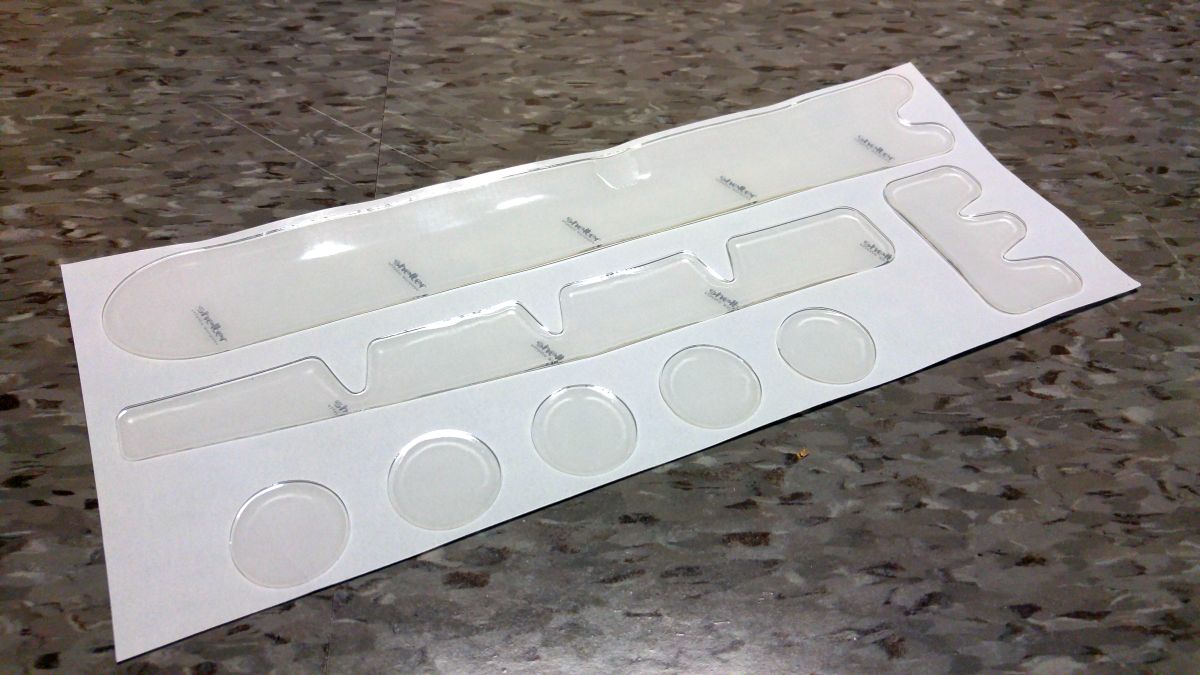
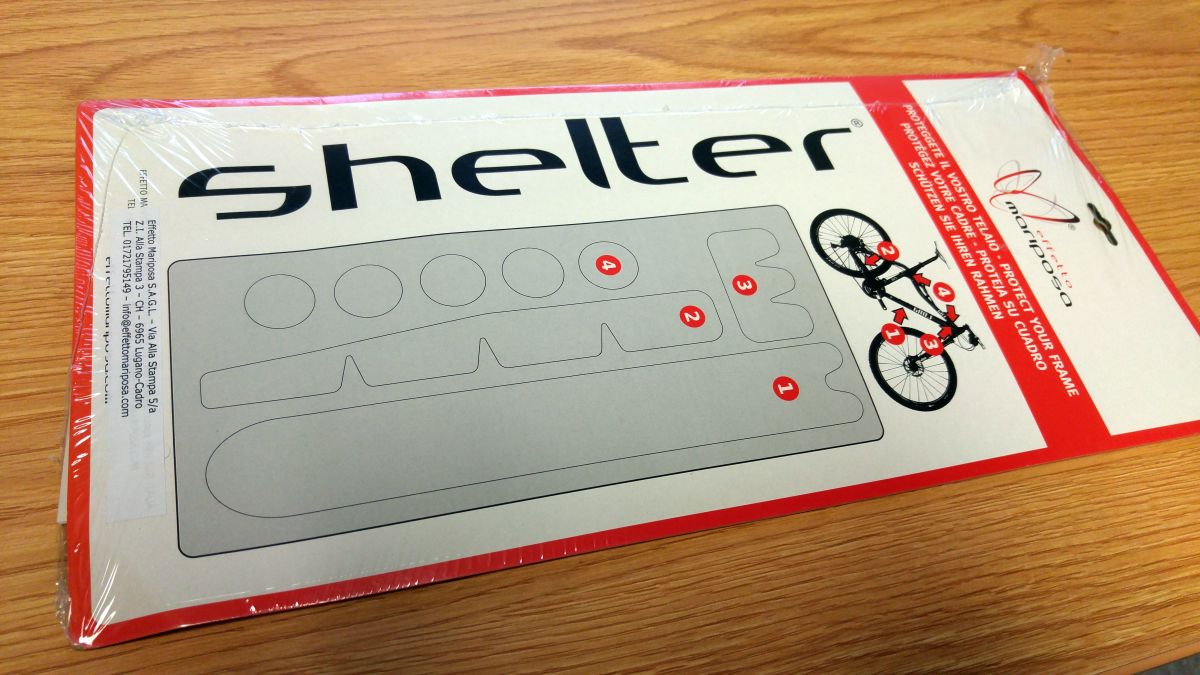
The Shelter kit comes in a simple package, with the adhesive material laid onto backing paper, sandwiched between the outer presentation cardboard that also contains the installation guide. I despise fancy packaging; nice to see the Shelter kit doesn’t waste in this area.
The Parlee Chebacco features some of the nicest internalized cabling around. Where cables enter the front of the bike, there are little to no potential rub spots to worry about. Thus, adhesive for the downtube and chainstay was all I needed for this particular installation.

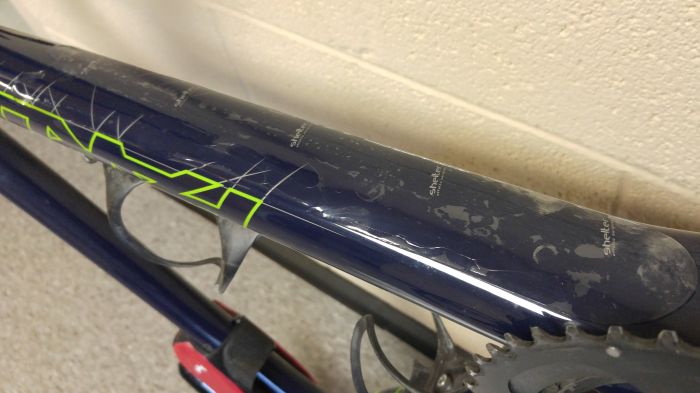
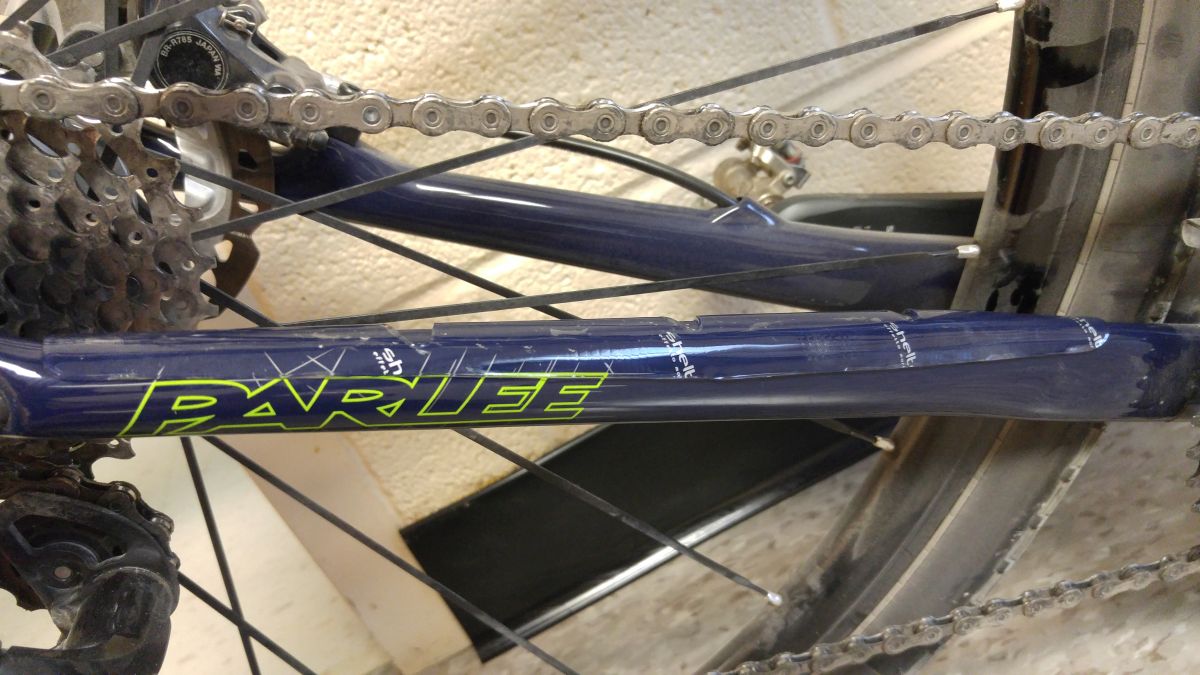
Installation is a breeze but a little patience is required. Clean the contact areas and carefully install the adhesive. Going too fast will result in air bubbles being trapped. As I found out, the adhesive doesn’t like to be released once it has been installed. As you can see from the two photos above, my initial attempt at installation looks a bit messy. However, the final appearance was markedly improved after I peeled back a little and carefully reapplied.
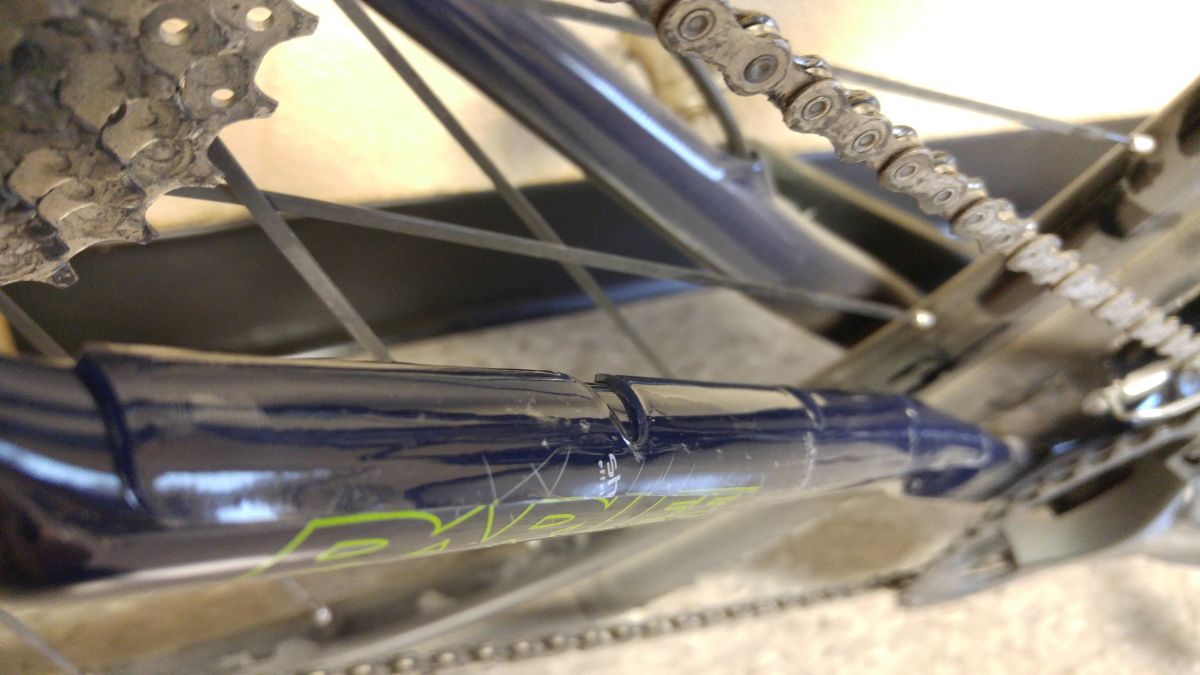
Installed correctly, the adhesive cannot be seen from a distance, allowing the color of your frame to show through – and protecting it at the same time. Speaking of protection, Effetto Mariposa claim there are 50 layers of impact protection in every strip of Shelter.
My only complaint about the Shelter kit is I wish the piece of adhesive for the downtube was longer. Granted, if installed beginning at the bottom bracket, the adhesive will protect most of the known impact spots of the downtube. But, I’d prefer to see fuller coverage – gravel roads have a nasty habit of throwing stuff all over the place, and they don’t discriminate when it comes to fancy paintjobs.
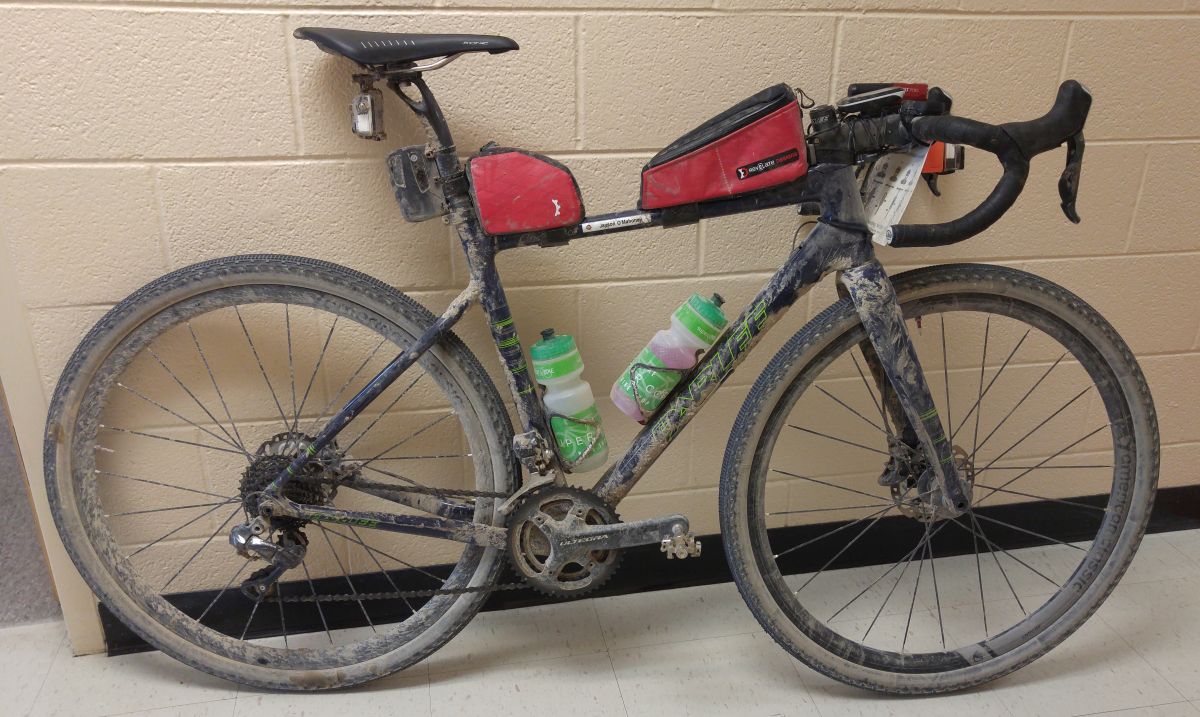
This quibble aside, the Parlee Chebacco made it through Dirty Kanza 200 relatively unscathed. The paint was well protected from rock strikes and such by the Shelter kit, although mud during the early going miles of the 2016 edition was another matter. Incidentally, I finished the race too 🙂
Overall, the Shelter kit a nice product I recommend to anyone who cares about protecting their frame, while keeping it looking sharp. With it’s much thicker than usual adhesive, I would expect the Effetto Mariposa Shellter kit to perform admirably on one’s mountain bike – or road bike – or cyclocross bike. It certainly does well on gravel!
As a suggestion, I’d like to see Effetto Mariposa make an adhesive that installs onto the underside of the fork. This is an area on most bikes that see a lot of scratching and gouging… or, I could procure a second Shelter kit and customize.
Available for about $US 30 – $US 35, the Shelter is cheap insurance for your frame.
Photos and article by Gravel Cyclist. Jayson O’Mahoney is the Gravel Cyclist: A website about the Gravel Cycling Experience.