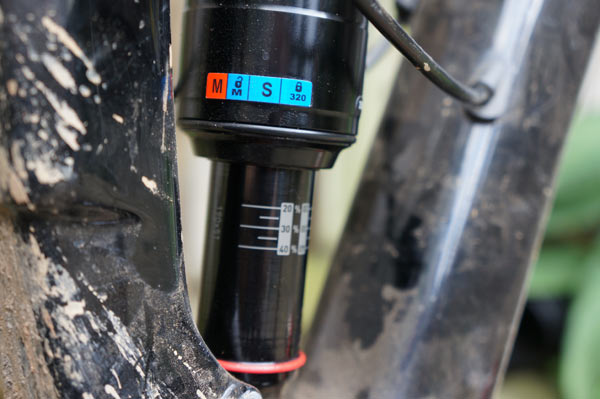
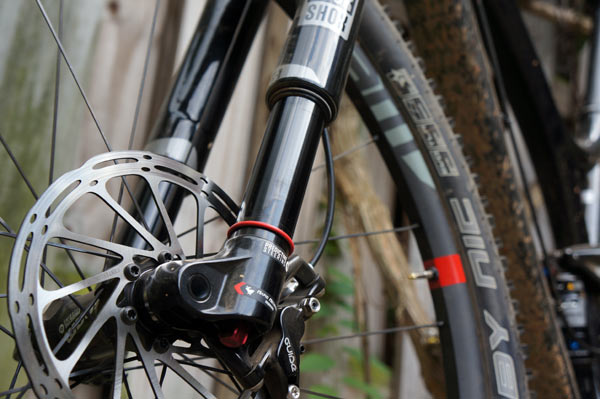
This is the final installment in our Suspension Setup Series, and it’s a fairly simple recap to the in depth process of properly setting up your mountain bike’s fork and shock. Assuming you’ve followed the series, your suspension should be pretty well dialed, leaving one big question: How often should you be bottoming out?
“Every ride. If your bike is set up properly for the course you’re riding, you should use full travel on the biggest hit/drop/jump of your ride. Otherwise, you’re not fully utilizing your shock and the fun-o-meter isn’t maxing out.”
That’s from Duncan Riffle, 2x U.S. National Downhill Champ, former World Cup DH competitor and SRAM MTB marketing manager. We also spoke with Manitou’s Eric Porter, who’s raced professionally in XC/DH/DS/DJ over the past 11 years; Mark Fitzsimmons, Fox Racing Shox’s race program manager and pro athlete suspension tuner; and Josh Coaplen, Cane Creek’s VP of Engineering.
Here’s what they had to say…
“From the very beginning of Blackbox race testing,” says Riffle, “they cemented into my head you should get full extension of your travel on every ride.”
At face value, that makes sense. After all, why leave any of your bike’s performance on the table? But the full extent of your travel should be reserved for the biggest hits on the ride, and it’s not just about reaching bottom out. It’s also about the quality of that bottom out.
“I’d suggest setting up fork/shock to use all travel on every ride… at least once,” says Coaplen. “However, if that ‘one feature’ that uses all the travel (jump landing, g-out, berm) is more frequent than once a ride, then using all the travel as frequently as that feature exists is optimal. Of course, there are exceptions. For example, I’m way over-biked right now. I’m riding a Enduro 29, mostly in Bent Creek. I don’t always use all the travel if I’m just out for a cruise. Having said that, using all the travel does not mean bottoming harshly. If you feel either shock or fork hit hard (rattles you) on a typical feature, it is time to add more air/up the spring progressivity/buy a stiffer coil.”
That last part is important. If your bottom out is too harsh, it’s time to revisit the other steps to setting up your suspension. If you’ve tried all that and things are still pretty rough at the limits of your bike’s travel, then it might be time to swap suspension parts or even go with a bigger bike. Conversely, if you’re never bottoming out, you too could have “too much bike”.
As with the other settings, things arent’ necessarily the same front to rear.
“You should bottom out a couple of times a ride on the trail you ride the most and feel the most confident on,” says Fitzsimmons. “If the terrain is steep, it will be hard to bottom out the fork unless it’s a jump, drop off, or impacting large braking holes entering a turn. You shouldn’t bottom by just riding into obstacles such as square edge rocks. If you do, the chances of a flat tire are pretty high.”
Ultimately, this and everything else comes down to feel. Hard and fast rules rarely apply to every rider on every ride.
“I’ve heard before that you should bottom out once or twice a ride, that’s how you know you are set up right,” Porter told us. “I don’t believe that necessarily, I think you should bottom out only when you think you should, if that makes any sense. If you ride a medium rough trail and aren’t smashing everything, you probably won’t use all of your travel really. I look at my last inch of travel as my insurance policy, I want it there when I really need it, not just when every big rock comes along. Forks are so tuneable now that you can really set your compression damping to keep you from smashing the bottom, the Manitou Mattoc even has HBO adjust built in, which stands for Hydraulic Bottom Out, and you can tune how the last inch of travel feels, and keep yourself from ever feeling a harsh bottom out.”
And with that, we conclude Bikerumor’s master class in mountain bike suspension set up. Below is a recap of the first five articles, which provides everything you need to know to set up your current suspension and evaluate its performance. Enjoy the ride!
- Part 1: Setting Your Sag
- Part 2: Setting Compression
- Part 3: Setting Rebound
- Part 4: Setting Air Volume
- Part 5: Is your suspension tuned properly?
Huge thanks to everyone that provided their expertise for our series!

